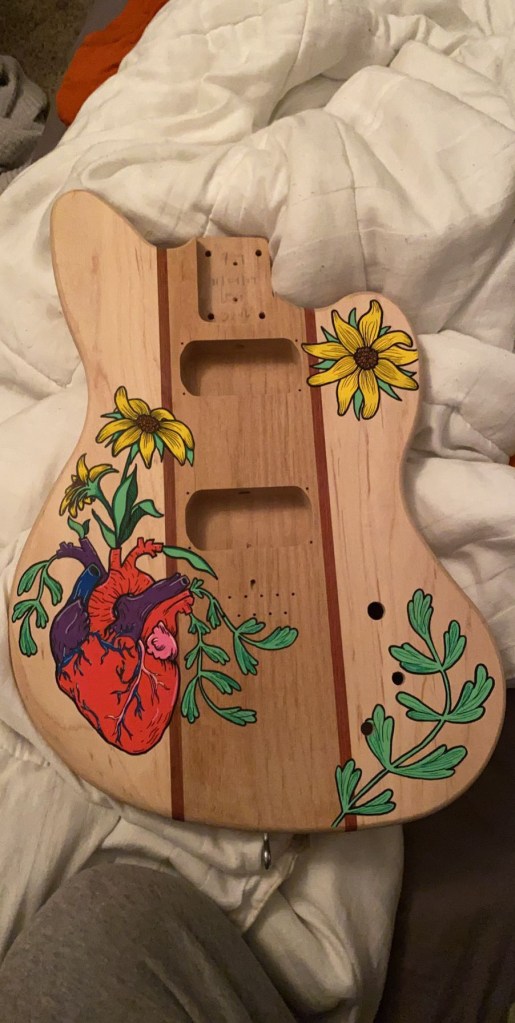
This week in guitar building I finally touched my guitar. I painted my design with Posca pens and did four coats of finish. Then I began the polishing and buffing process using the 600, 1000 and 2000 grit sandpapers provided. I learned that I am absolutely terrified to touch my guitar without Mr. McCormack present.
This week in guitar building I learned that staying inside all day everyday has caused my mental state to plummet and thus was completely unproductive. I was able to complete some video assignments on my laptop. But overall, I apologize.
Though still distance learning, we still learned several things. This week in guitar building Mr. McCormack sent us videos on the wiring harness, output jack mounting, and level sanding and polishing. I learned that if you aren’t tired after polishing and buffing then you haven’t actually polished and buffed because a lot of pressure and fast motion is required to complete those processes.
This week in guitar building, Mr. McCormack, as seen above, recorded and sent us videos explaining processes we’ll soon be completing on our own guitars. These included installing string ferrules, strap buttons, and bridge and ground. I learned that soap can be used to prevent stripping a screw, which renders it ineffective.
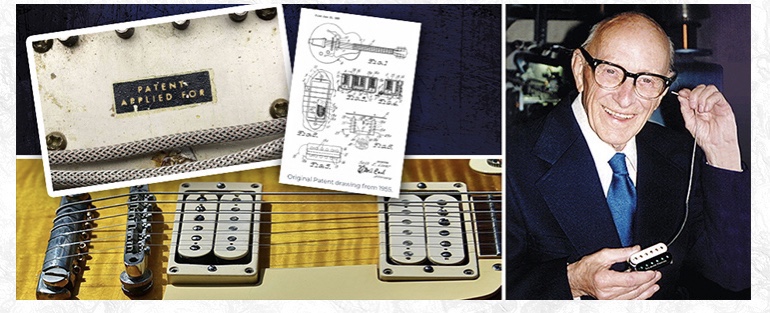
This week in distance learning for guitar building we learned about the early days of the electric guitar and Seth Lover. Seth Lover originally built a valve radio and then started working for Gibson, there he designed his GA50(or GASO I can’t read my handwriting) amp. After that he created humbuckers. Due to a promise of a raise he began working for Fender, where he was asked to recreate the humbuckers and add improvements. After that he started a company with Paul Reed and worked there until his retirement.
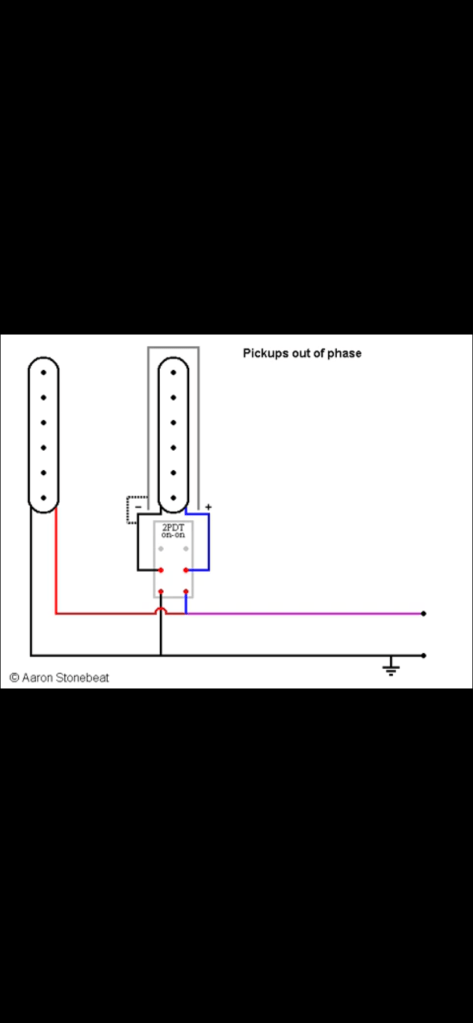
This week in distance learning for guitar building was Brian May week. We watched videos on Brian May’s Red Special, the guitar him and his father built that he still uses to this day(I did not know this). May has six switches on this guitar that allow him to turn on his pickups and then switch them in and out of phase, he uses the technique a lot during Bohemian Rhapsody, a 2PDT switch is used for this.
This week in guitar building we didn’t get to build our guitars at all because of the Covid-19 pandemic, so we watched several videos. These videos talked about sanding and buffing the guitar body as well as fixing any nicks on it. I learned that you can just fix a indentation on your guitar with some super glue that is sanded to perfection. (Also I didn’t know what to put as a picture so heres my puppy who kept me company while watching these videos)
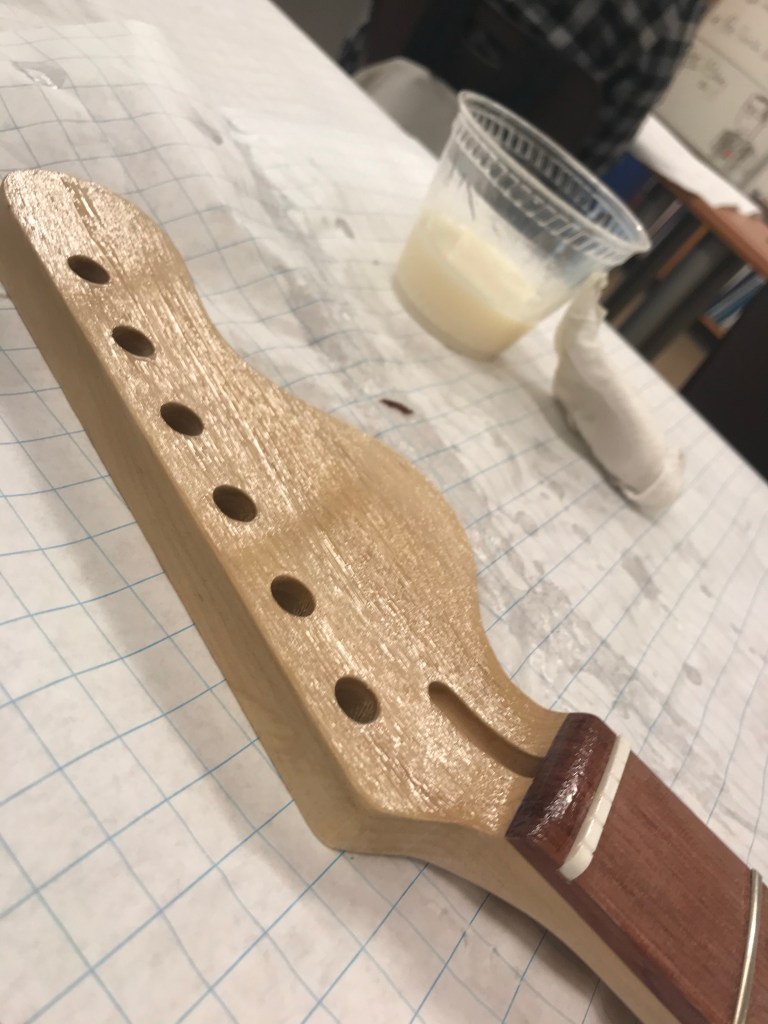
This week in guitar building we began by doing two coats of sanding sealer on the neck and headstock, this applied moisture to the wood grain so it would, for lack of better words, fuzz up, and then dry so later, when we put on the finish, the wood would not fuzz up and create a bumpy guitar. After those two coats, we sanded off the hardened fuzz and began applying a water based sealant to the headstock. I did about 30 coats of this stuff over the course of the week. I also put the sanding sealer on my guitar body, and followed that with sanding it off. We also but eye hooks in the bottom of the bodies, these would be used to hang the guitars when spraying finish. And finally, we drilled in handles where the neck would be, these will allow us to move around the body, without touching it, when we spray finish on it later.
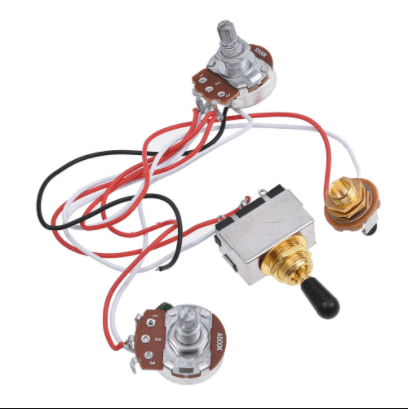
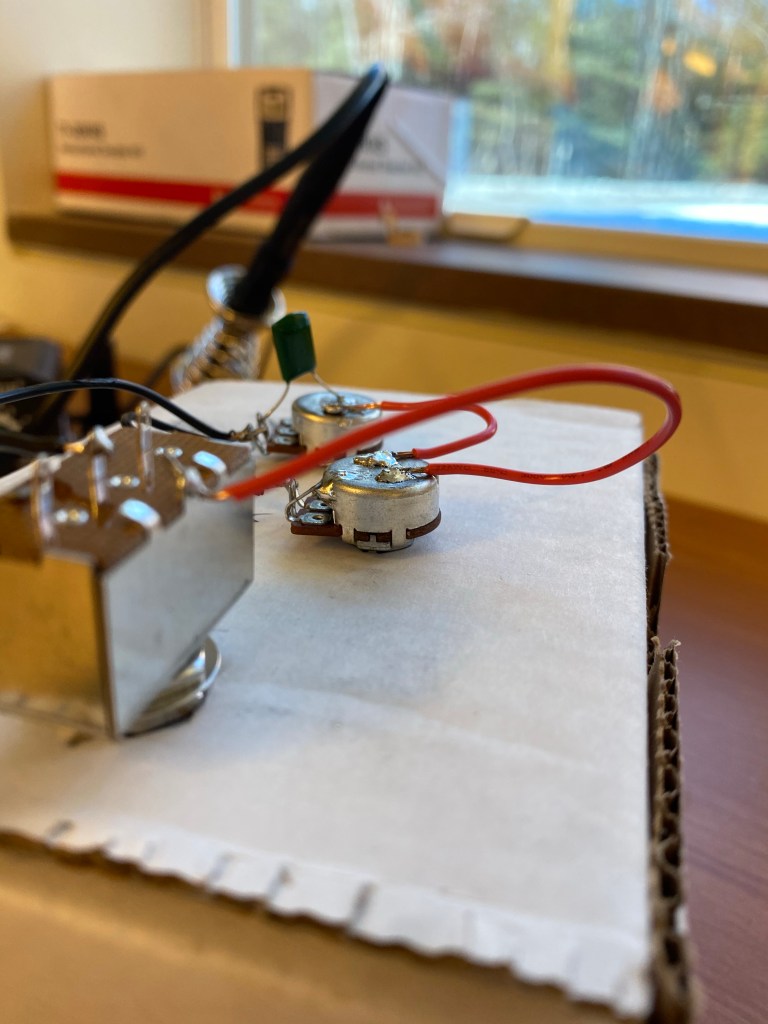
This week in guitar building we had a substitute on Monday so we learned about humbucker pickups. Then, on Tuesday, I finished my soldering by connecting my output jack to my volume potentiometer. I had to be very careful not to have the two connections made touching because if they were then it would not work. Finally we tested my set up but clasping the pickups to the set up and using a tuning fork to see if it works. During this the tone potentiometer had no affect because the tuning fork has a pure tone therefore it wouldn’t be change to something different.
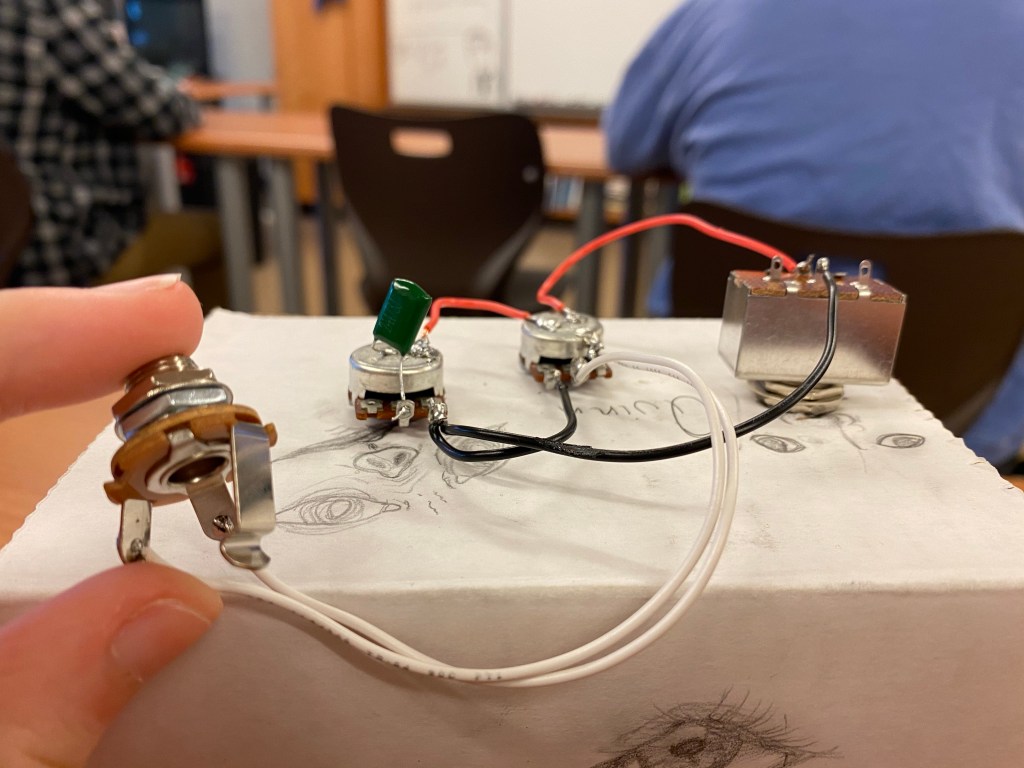
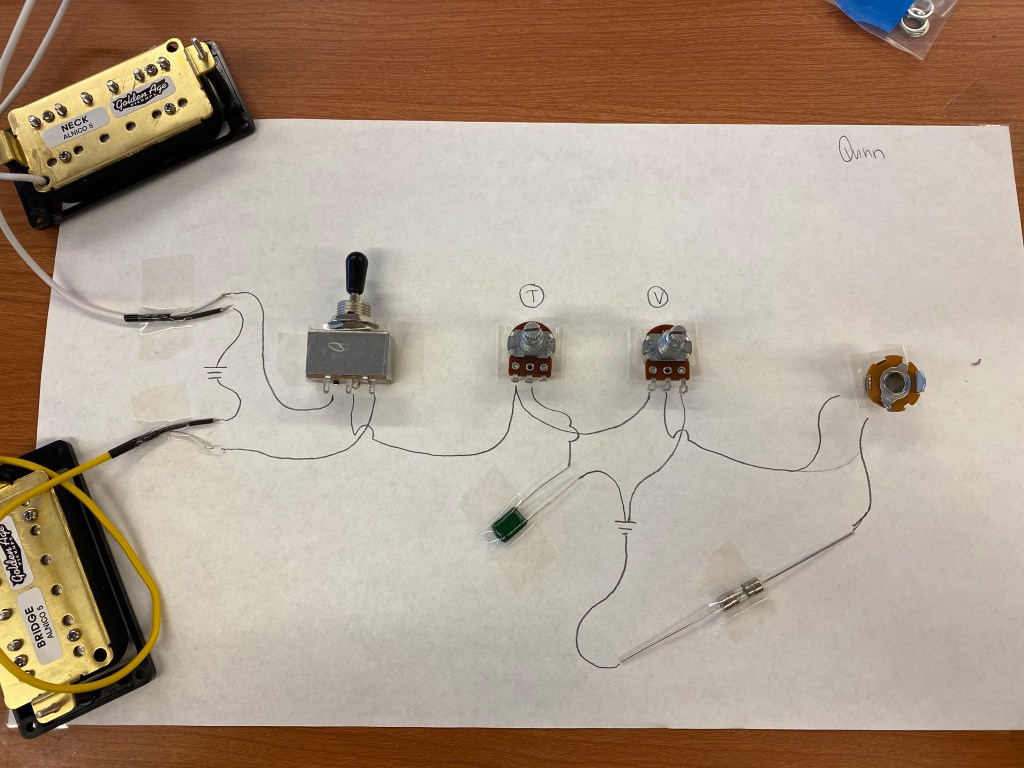
This week in guitar building we started by drawing out wire connections that we were going to make, with the proper symbols, then with pencil and the actual pieces. We then began actually soldering by making bigger potentiometers connect to ground. Then we tinned the edges of some wire to make the connections to the switch, this makes it a lot easier. I learned that when the solder isn’t shiny it means it’s a cold solder and that’s not good and that the iron oxidizes really quickly so you have to constantly clean it so you don’t get cold solders.