Week Number 8

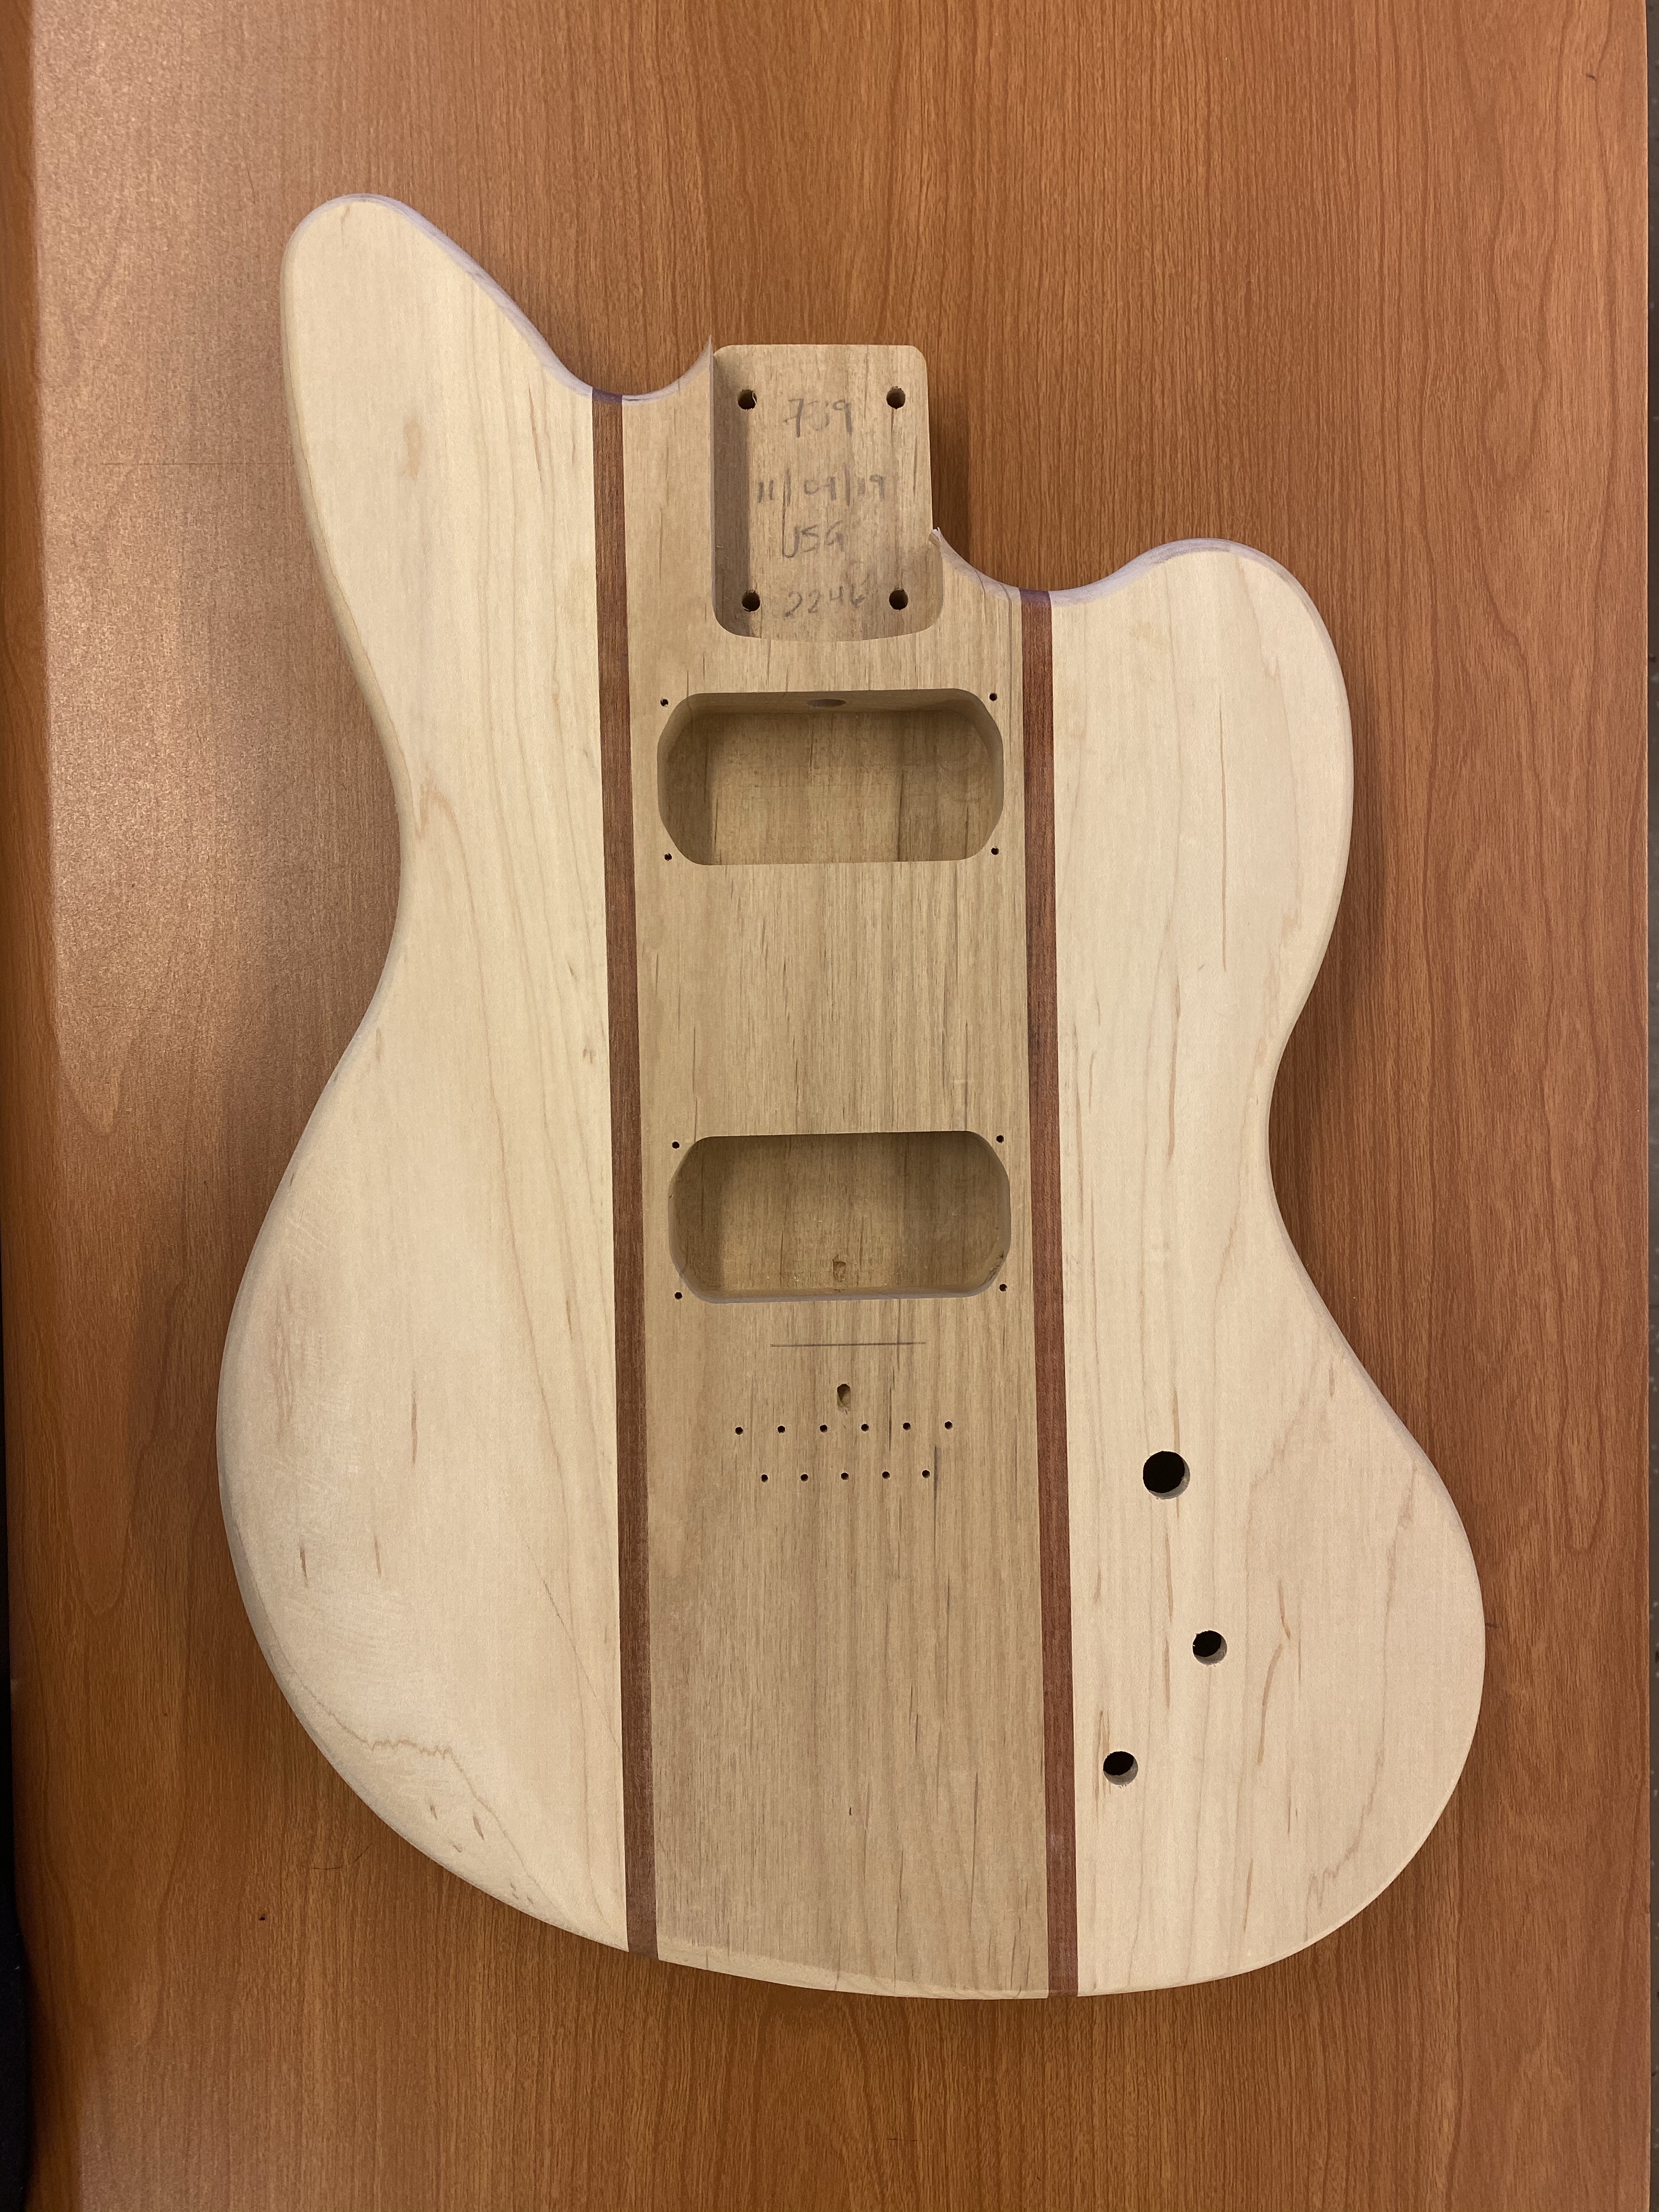
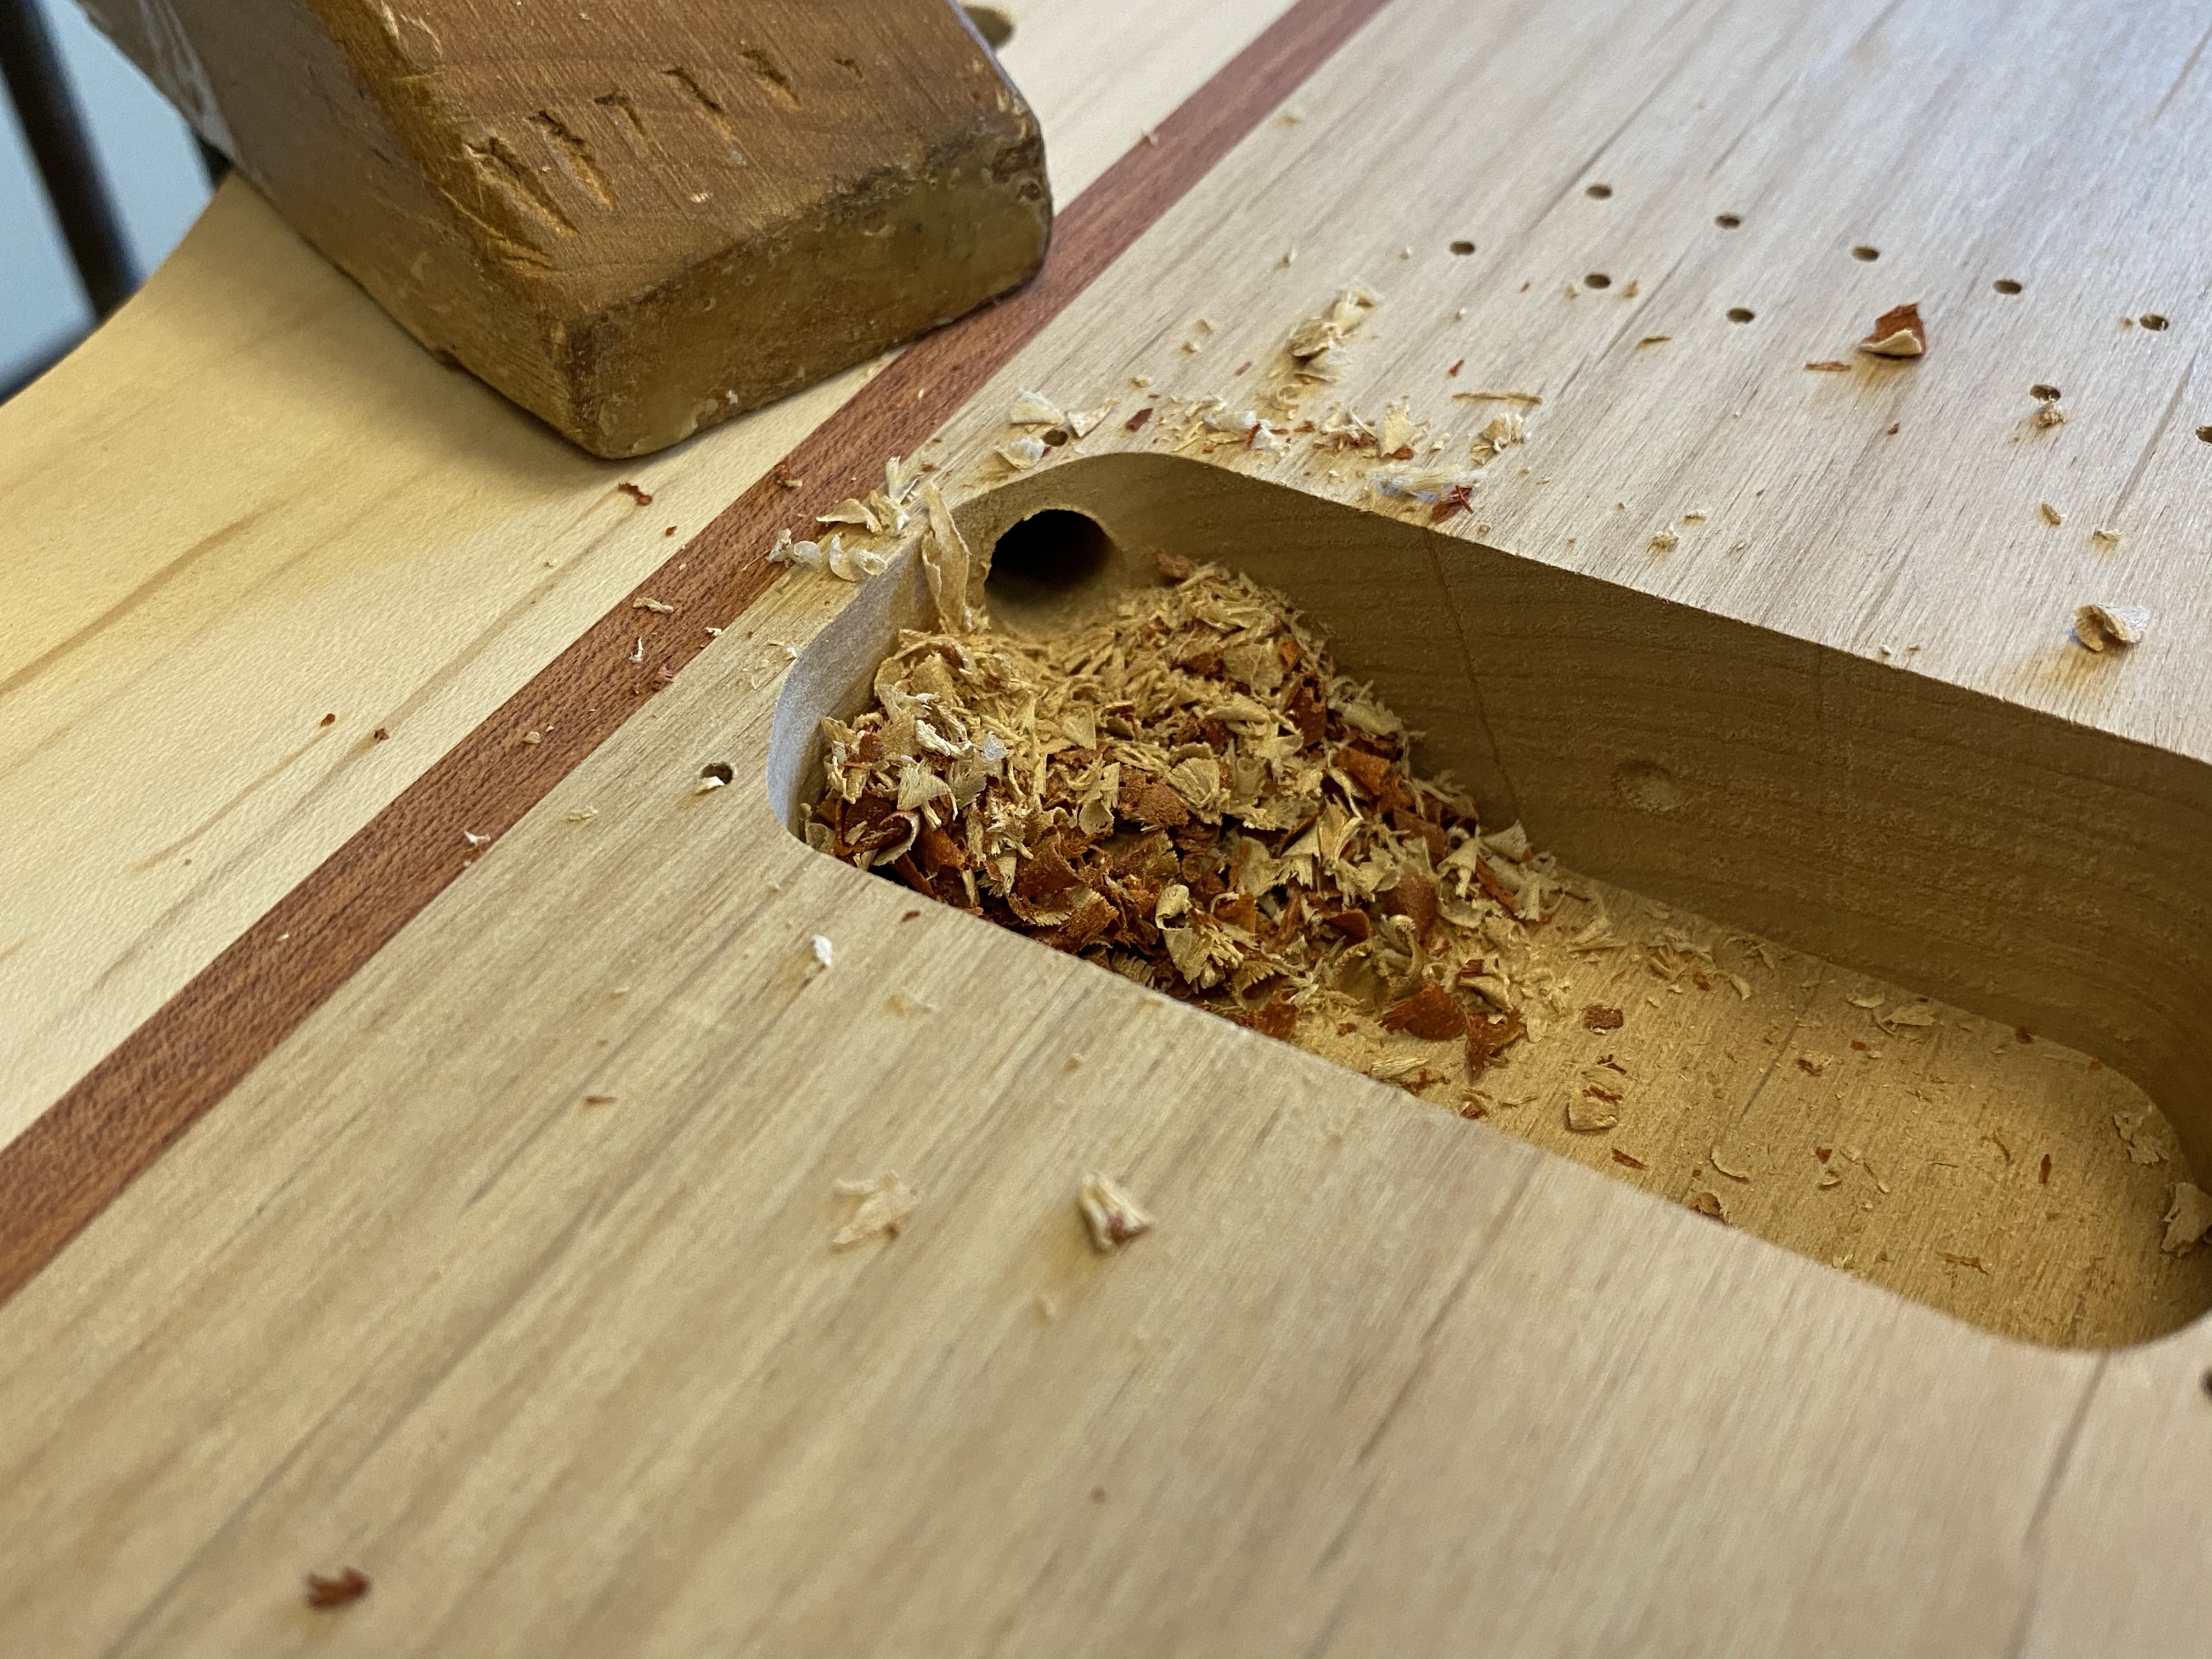
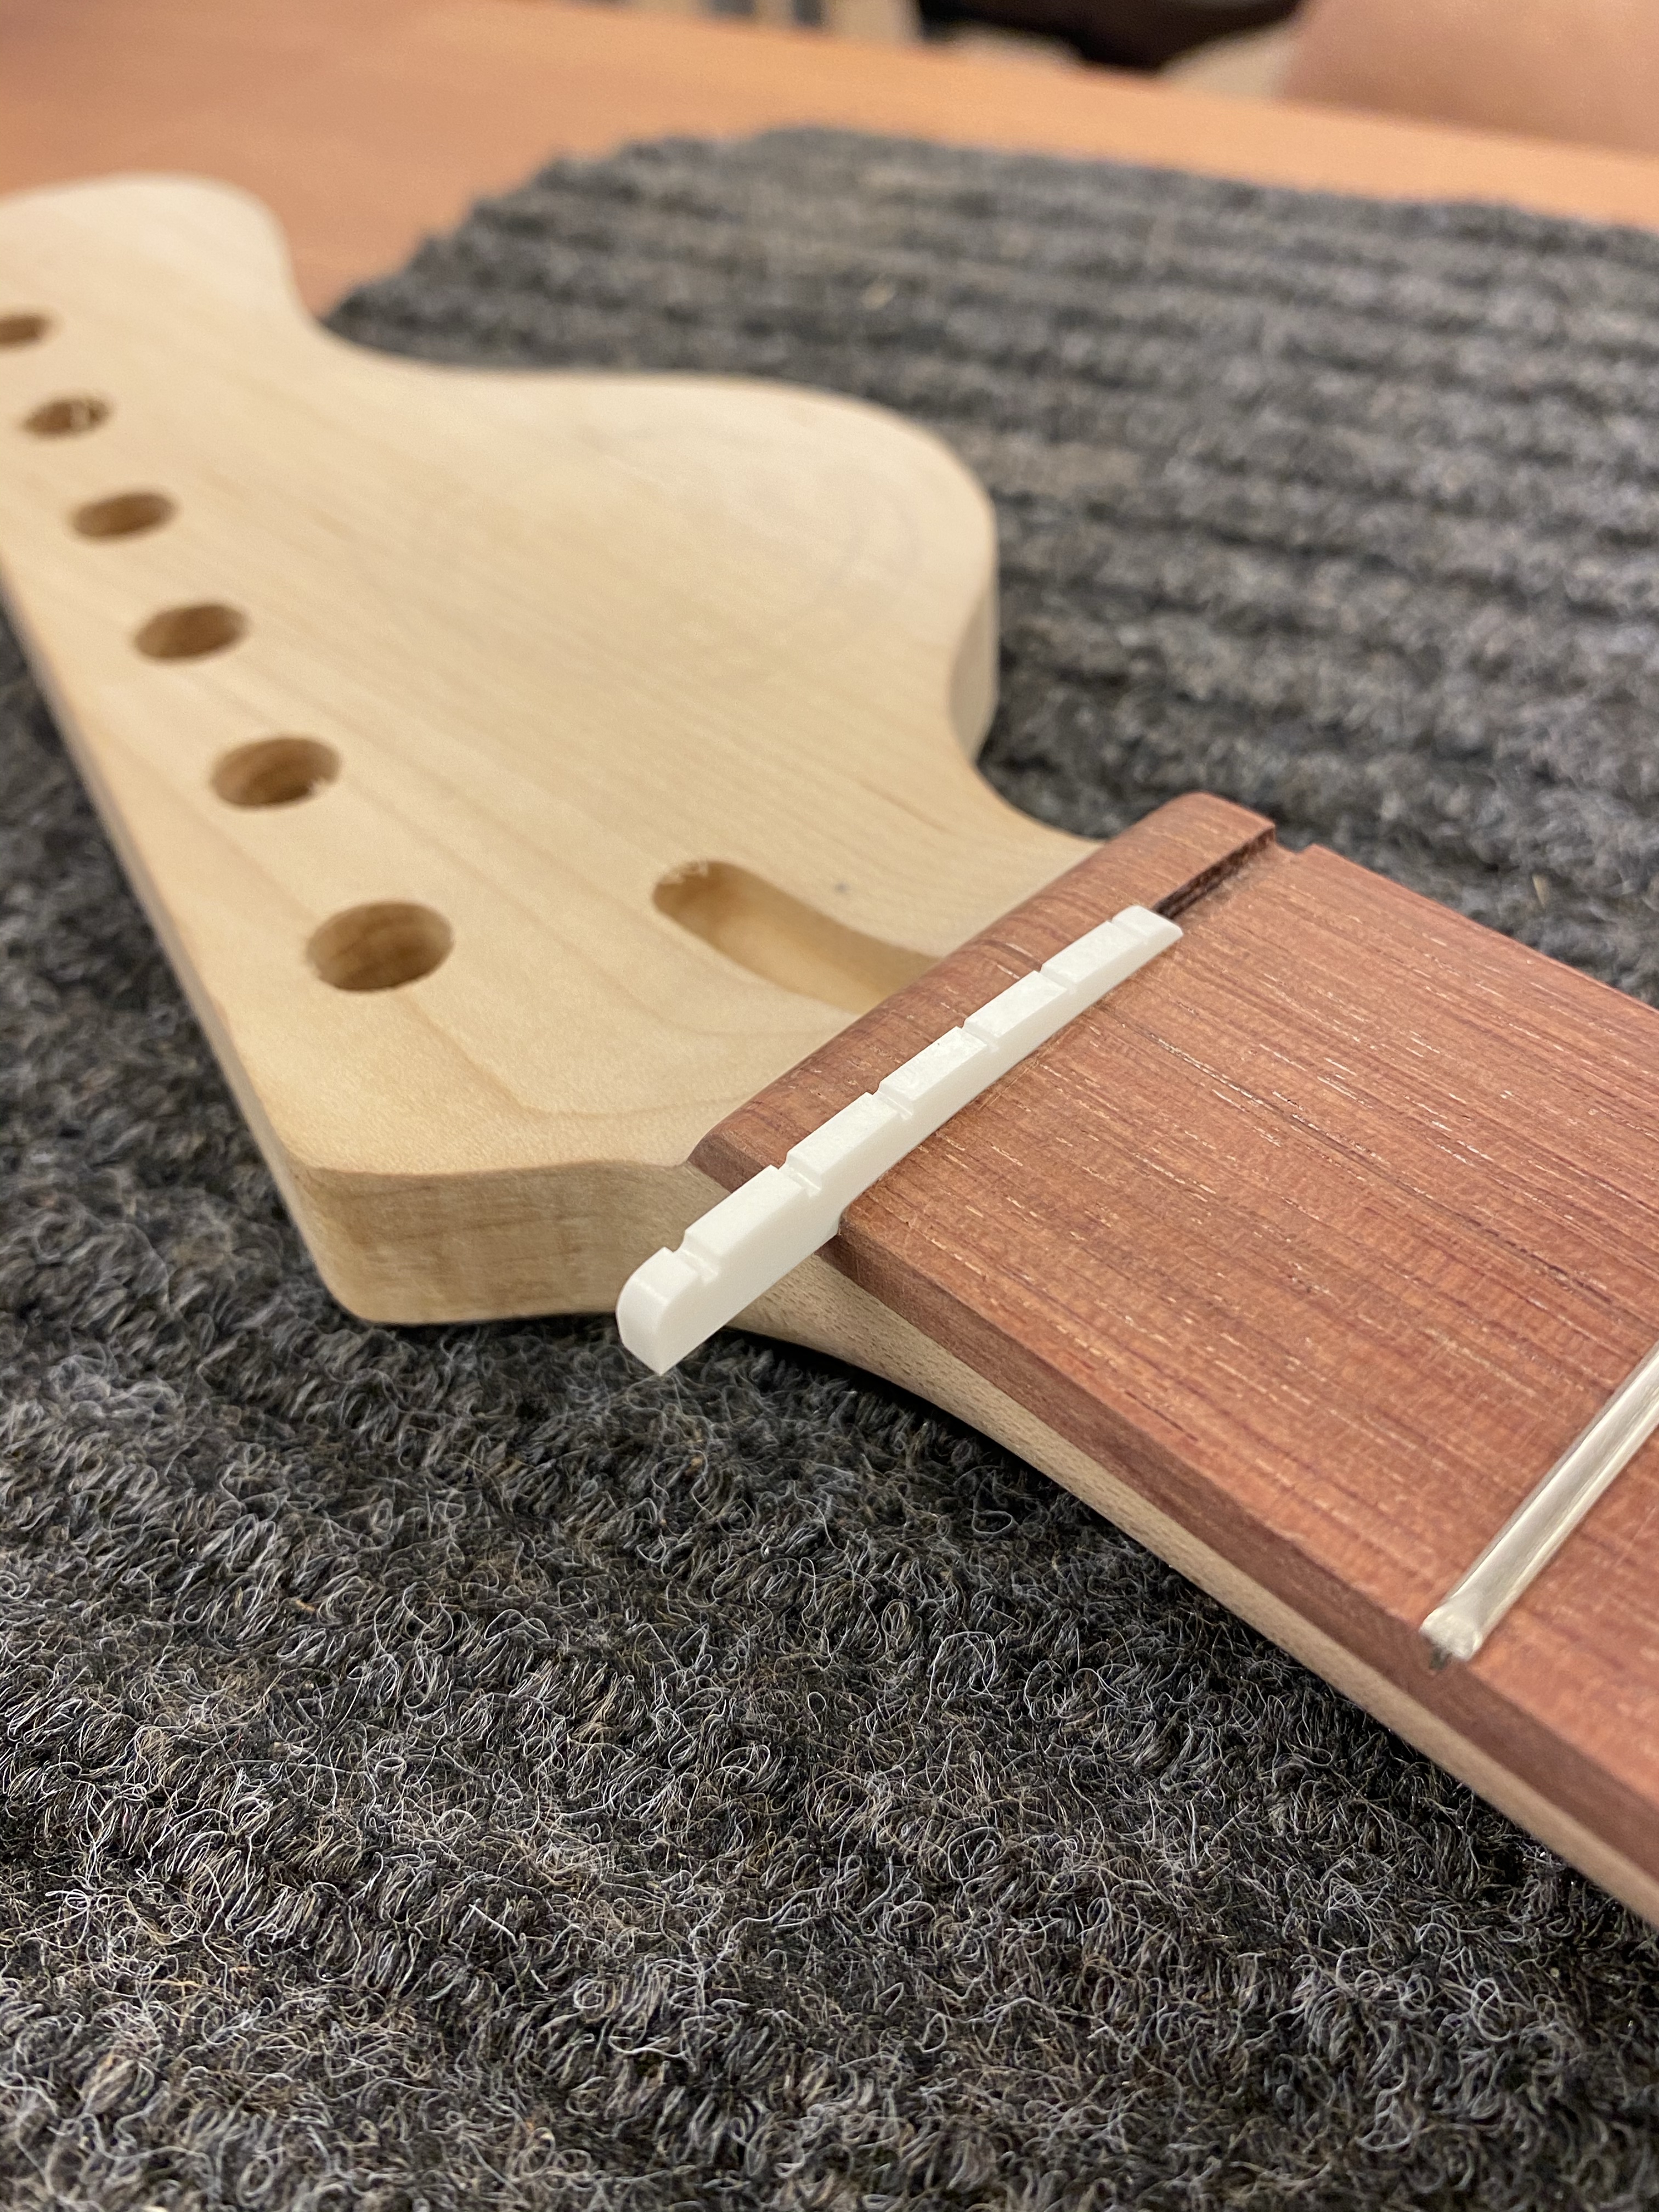
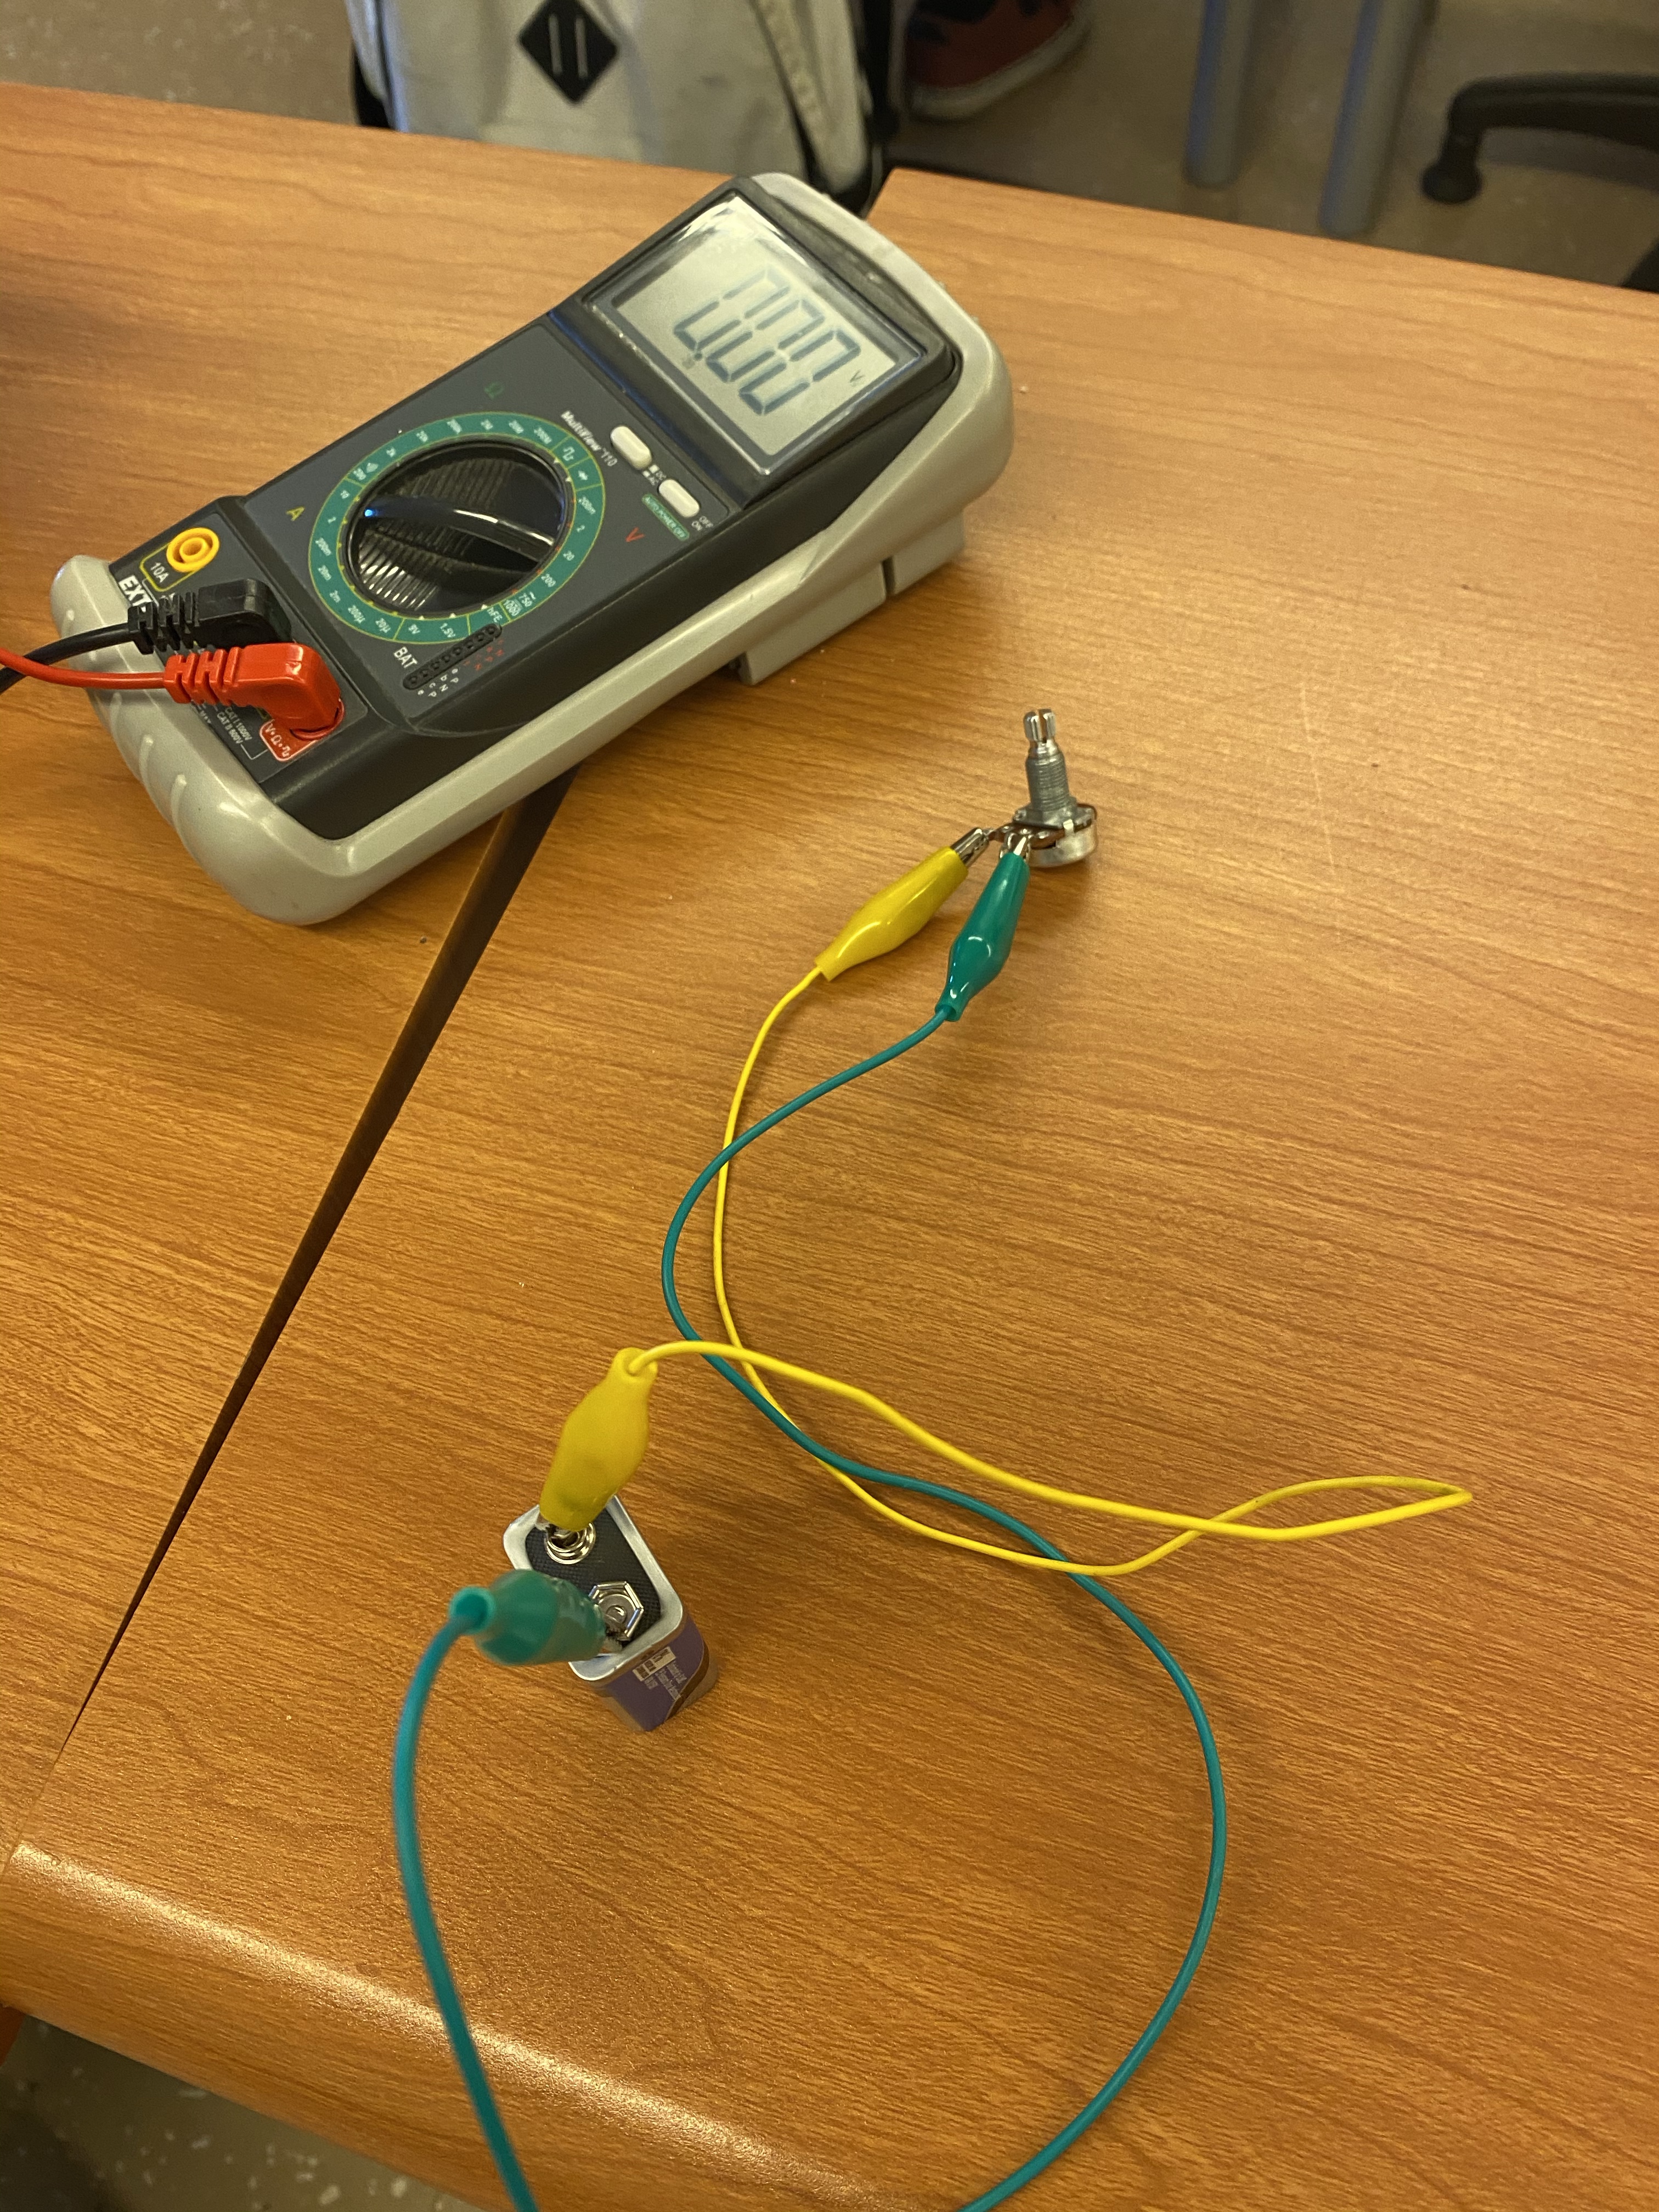
In the past couple weeks in guitar building we used a 7/8” Forstner bit to drill the electrical outlet through the bottom of the body into the area where the electronics will be held. We also sanded down the nut so it would fit into the nut slot on the neck, and super glued it in. Another thing we did was assemble the pickups, which captures the vibration of the strings and converts that into electrical signals that go through an amplifier to create the sound. Finally, we learned how to measure resistance in our potentiometers(a variable resistor) using a digital multimeter, the potentiometer has a rotating piece that allows you to adjust the voltage.

Week Number 7

This week in guitar building we began by using a round-over bit on a router table to round out the edges on the guitar body, making sure to keep it moving and go against the rotation of the bit to prevent burning from friction and the body being pushed out of my hands. Next I began filing the forearm rest on the body, which took a really long time, followed by using the random orbital sander to smooth out the scratches from the file. I then flipped the body over and began filing and sanding the back side of the forearm rest, using the rounded side of the file because it was an inverted curve. Finally I used a portable spindle sander to smooth out the curve and cleaned up for the weekend.

Week number 6

This week in guitar building I started by filing my fret ends flush to the board. Then I used a purple sharpie to cover all the frets and sanded the frets on a sanding beam so they’d all be at the same level, followed by sharpie again. Next I used a fret recrowning tool to do just that, first with 150 grit leaving and thin line of sharpie, then with 300 grit getting ride of it completely. After that I used a file again to bevel the frets edges so it would be a harsh corner of wire. After that I went over each individual fret with 1000 grit sandpaper to remove most of the scratches from the recrowning tool(and smooth the beveled edges) and followed that with 0000 steel wool, this removed the minuscule scratched left from the 1000 grit and left me with shiny frets. Finally, I gave my frets a quick acetone bath to remove any remaining sharpie, thus completing my fret board.

Week Number 5

This week in guitar building I didn’t get that much done. The first thing I did was clean two pieces of fret wire using acetone and a paper towel, if you don’t do this the black gunk on the wire spreads into the fret board. Next, I bent the fret wire the the corrected radius to fit my fret board(12″) using a fret wire bending tool. After that, I cut pieces of fret wire to fit in the pre-cut slots on my fret board and pushed them in using a drill press. Finally, I clipped the edges of the fret wire off to make it flush with the neck.

Week Number 4

This week in guitar building we sanded a LOT. First I used a rasp to make the transition from headstock to neck smooth. Next we placed a strip of gaffers tape on the back of some sandpaper and, in a shoe shining motion, sanded the neck to make the sides flush with the fret board. After that we cleaned it up a little with a small piece of sandpaper. Last, but certainly not least, I sanded my fretboard. First, with 600 grit, then 1000, and finally 2000. This made the fret board shine. To clean the fine powder out of the cracks, I did a quick acetone bath.

Week number 3

This week I began by finishing up marking the spots from my fretboard inlays, followed by drilling the holes using a forstner bit. I then went with Sam who helped me drill my electrical holes, which resulted in a pretty mixture of wood chip colors. I also glued my inlays and cut them to size, followed by sanding them down and giving them an acetone bath to remove remaining super glue. Knowing the next days plan, I ended up sanding the edge of my guitar body next to eliminate the lines created by the machine that cut out the shape. Finally, we placed the truss rod in the neck, making sure it was completely in with a clamp. We placed a piece of painters tape across the truss rod and covered the remaining visible wood with some strong glue, spread it out(the tape prevents the glue from seeping into the truss rod’s slot) and peeled off the tape. After that, Kayla and I placed my fret board on my neck and, with the help of Mr. McCormack, wrapped my neck with a large rubber band and left her to dry over break.

Week Number 1

For some reason my week one text deleted itself so I’m rewriting it because I’m annoyed.

During the first week of guitar building we began by discussing what we would be doing during the course, this included: talking about blog posts, learning a few tools we’d be using, and seeing some examples of finished guitars from previous years. We also all received white boxes filled with necessary parts for our guitars, and chose fret boards and headstocks. Next we were given paper to draw out our headstock designs and transferred them onto them.

Week Number 2

I started the week by cutting out my headstock design on the band saw. The next few days I spent sanding my fret board with a 12″ radius, 120 grit, sanding block; this took forever but it turned out pretty perfect. Next I used the spindle sander to sand my headstock shape so it wasn’t so rigid, and left it smooth all the way around. During this process, I also sanded the wooden tab at the base of the neck off. In the last ten minutes of class Friday, I began marking where my fret markers will be using a ruler to make sure it was even and a small drill bit to press in the holes only slightly. After that we all cleaned up and headed to lunch.

Design a site like this with WordPress.com
Get started